A clean and pristine kitchen is every homeowner’s dream, and the key to achieving it lies in the often-overlooked details like kitchen tile grout. While sparkling floor tiles add elegance to any kitchen, stained and dirty grout lines can diminish the overall appearance. At Sparkling and Beyond, we understand the importance of a spotless kitchen […]
03 Mar 2024

19 Feb 2024
02 Dec 2022
30 Jan 2022

09 Mar 2023

24 Sep 2022
07 Apr 2022
A clean and pristine kitchen is every homeowner’s dream, and the key to achieving it lies in the often-overlooked details like kitchen tile grout. While sparkling floor tiles add elegance to any kitchen, stained and dirty grout lines can diminish the overall appearance. At Sparkling and Beyond, we understand the importance of a spotless kitchen and are here to guide you through cleaning kitchen tile grout effectively and effortlessly.
Kitchen tile grout fills the gaps between tiles, preventing moisture and debris from seeping through. Over time, grout lines can accumulate dirt, grease, food particles, mold, and mildew. Not only does this affect the aesthetic appeal of your kitchen, but it can also become a breeding ground for harmful bacteria.
Regularly cleaning your kitchen tile grout is not just about maintaining appearances; it is essential for maintaining a hygienic environment in your home. Furthermore, clean grout enhances the longevity of your tiles and helps you avoid costly repairs and replacements in the future.
Example: The Plight of Sarah’s Kitchen Tile Grout
To understand the significance of clean kitchen tile grout, let’s look at Sarah’s experience. Sarah, a busy working mom with two children, noticed the once pristine white grout lines in her kitchen had turned into a dark and dingy mess. Despite her best efforts, using various off-the-shelf cleaning products, the stubborn stains persisted.
The discolored grout lines made her kitchen look untidy and detracted from the overall beauty of the space. Furthermore, Sarah began to worry about the potential health hazards lurking in her kitchen due to dirt and bacteria buildup.
Frustrated, she sought the expertise of Sparkling and Beyond, who came to her rescue with a comprehensive solution to restore the gleaming allure of her kitchen tile grout.
Essential Tools and Materials
Before we delve into the step-by-step process of cleaning kitchen tile grout, gather the following tools and materials to ensure the best results:
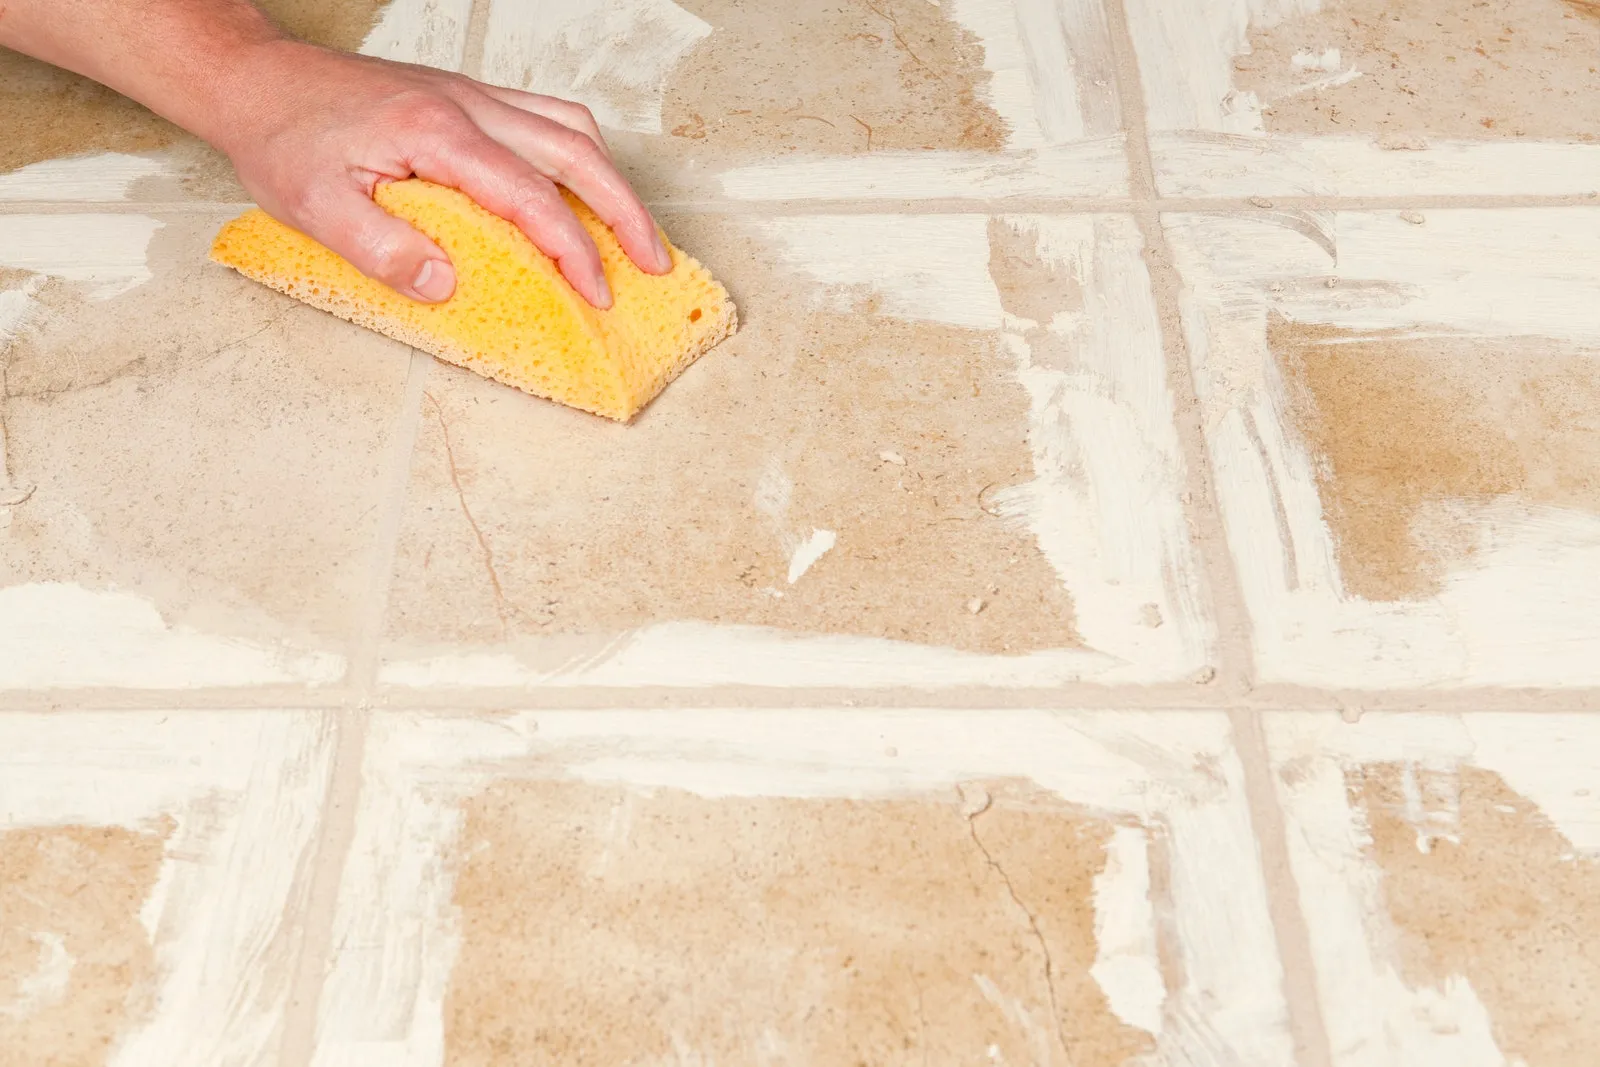
Step 1: Preparing the Grout Surface
To begin cleaning, clear the kitchen floor of any movable objects and sweep or vacuum to remove loose dirt and debris. This step ensures that the cleaning solution can penetrate the grout lines effectively.

Related topic: How To Clean White Grout
Step 2: Making the Natural Cleaning Solution
Sparkling and Beyond prides itself on using eco-friendly cleaning solutions. For Sarah’s kitchen tile grout, we created an effective and safe mixture using the following recipe:
Step 3: Applying the Cleaning Solution
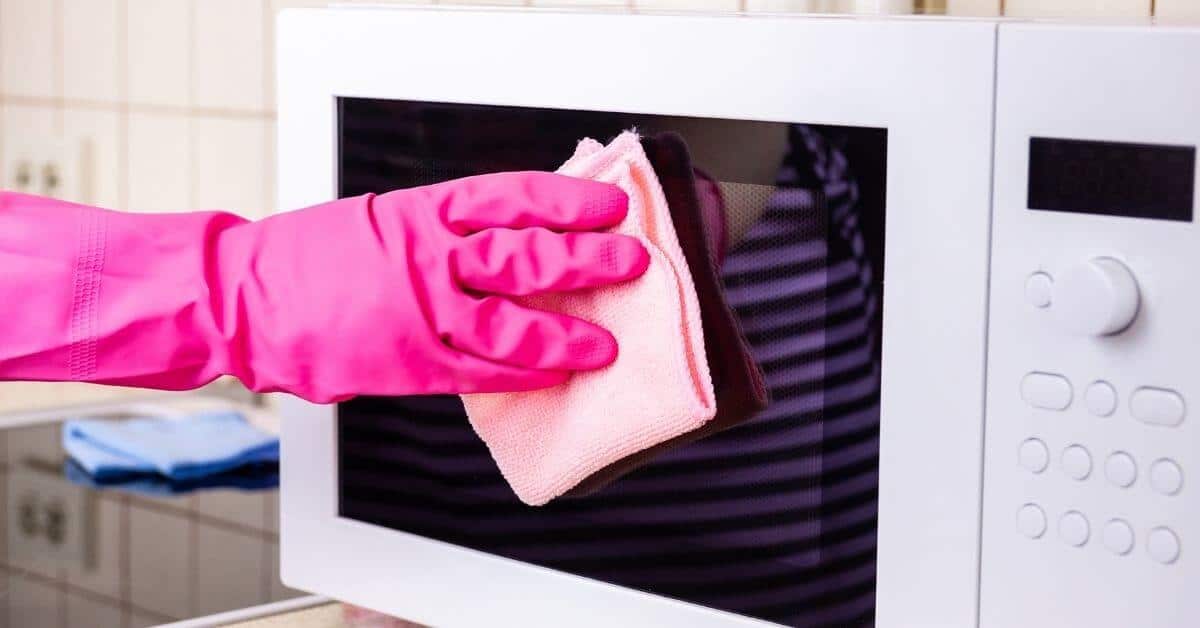
With the natural cleaning solution ready, apply it generously along the grout lines. Use a spray bottle for a more straightforward application, or apply it directly with a gloved hand or an old toothbrush. The thick paste should adhere well to the grout lines, ensuring maximum cleaning power.
Step 4: Letting the Solution Work Its Magic
Allow the cleaning solution to sit on the grout lines for 15-20 minutes. During this time, the mixture penetrates the stains, loosening dirt and dissolving grease and grime.
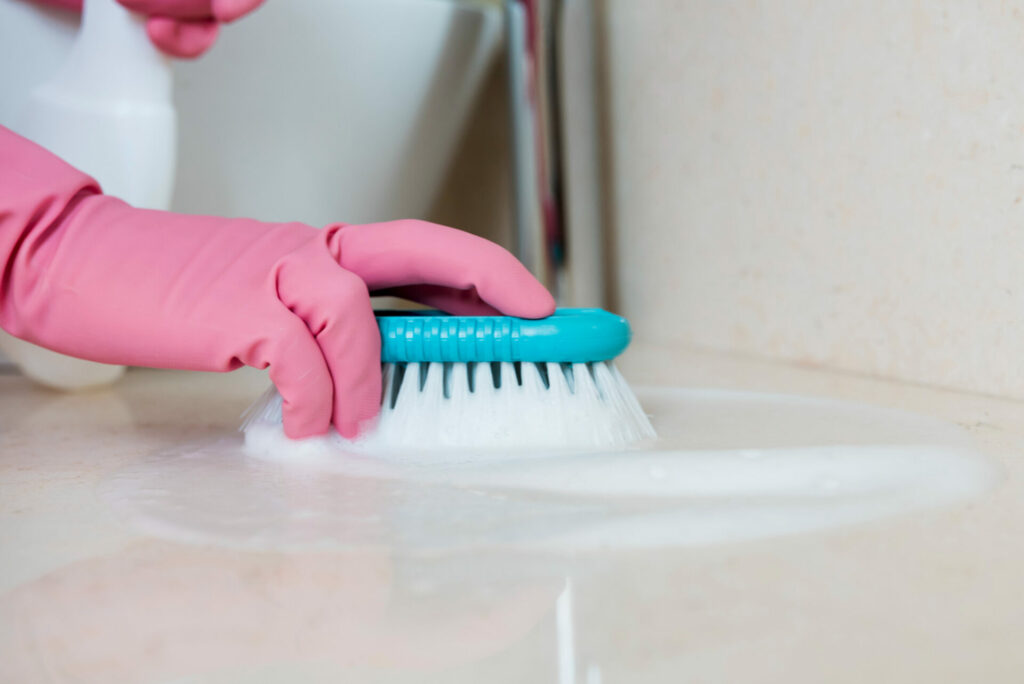
Step 5: Scrubbing the Grout Lines
Once the waiting time is over, it’s time to tackle those stubborn stains. Use an old toothbrush or a specialized grout brush to scrub the grout lines gently. The mild abrasion from the bristles helps lift the loosened dirt and grime without damaging the tiles.
In Sarah’s case, our cleaning experts employed precise yet gentle scrubbing techniques to ensure the grout lines were effectively cleaned without causing any harm to the kitchen tiles.
Step 6: Rinsing and Drying
With the scrubbing complete, it’s time to rinse away the cleaning solution. Fill a bucket with warm water and use a clean microfiber cloth to remove the residue from the grout lines. Rinse the material regularly to prevent smearing the dirt back onto the surface.
After rinsing, allow the kitchen floor to air dry. Sparkling and Beyond also employed specialized drying techniques to ensure a streak-free and shiny finish on Sarah’s kitchen tile grout.
Related topic: How Dirty House Affect Your Health
Step 7: Final Touch: Sealing the Grout
After thoroughly cleaning and drying the grout, it’s crucial to protect it from future stains and discoloration. Sealing the grout creates a protective barrier that repels dirt, grime, and spills, making it easier to maintain clean grout lines.
We used a high-quality grout sealer at Sparkling and Beyond to safeguard Sarah’s kitchen tile grout, leaving her with spotless and long-lasting kitchen flooring.
Regular maintenance is critical to extending the life and beauty of your kitchen tiles and grout. Here’s why it matters:
A clean and sparkling kitchen is attainable thanks to Sparkling and Beyond’s expertise in cleaning kitchen tile grout. As demonstrated through Sarah’s experience, our natural cleaning solutions, precise techniques, and attention to detail can revitalize any kitchen and ensure a hygienic environment for your family.
By following the step-by-step guide and using eco-friendly materials, you, too, can bid farewell to stubborn stains and embrace the beauty of pristine kitchen tile grout. Remember, a little effort and the proper cleaning techniques can go a long way in transforming your kitchen into a breathtaking space that you’ll be proud to showcase to your guests.
Refrain from letting stained grout lines hold your kitchen back. Contact Sparkling and Beyond today, and let us restore the shine and allure of your kitchen tile grout, giving you a spotless, inviting, and healthy living space!
![]()
